Friday, 10 January 2014

Evaluation of Filming Chase Scene - 02.01.2014

[ADD PIC] On the day we shot the chase scene, Annie, Hayley and the 2 actors came round my house because the park is up that road. Annie began doing Jordan's make-up first; she applied liquid latex and then baby powder and make-up on his hands to make them look old and as if he had beaten the victim before she ran away. Then she put "Adore + Endure Me" and "A+E" on his face.
 
Next, Annie started work on the victim's face, making it look bruised and bloody, as if the killer had beaten her. The victim also had smudged lipstick and mascara on her face, to make her look more superficial and emphasize the fact she is a prostitute.


Annie had made the pregnant belly using a pillowcase filled with stuffing and on the day, when our actor tried it on, it was too big for her. So after many attempts, I managed to take out enough stuffing so it was fitted her but still look large as if she was quite heavily pregnant.
 
 Also, Hayley put the actor's hair in a messy bun which had loosened and strands were coming out.
 This is what our 2 actors looked like at the end of hair and make-up. Overall, the preparation went successfully as our actors looked how we wanted them to, especially the special fx make-up on the killer which looked good after Annie had tried out so many variations of it.


After, we made our way to the park and we took up a ladder so we could film the high angle shots, special fx make-up to the victim's arm wound which comes half way in the chase scene, the story board to direct the actors and the camera and tripod to film with. When we got up there, luckily we found a trolley so we used that to put our stuff in, including actors coats as it was very cold. The trolley was greatly beneficial to us as we kept moving around in the wooded area.


 I filmed the first shot, the establishing shot of the victim running away, using the tripod and this was hard because I had to partly hold the tripod as the ground was slightly unstable because it was extremely muddy. The week we filmed, it had been raining a lot, so when we were all moving around the park, it was very difficult. However, luckily the rest of our opening will be inside Hayley's shed. As well, the path the victim was running down was a popular path for people to walk down with their dogs so there was a lot of waiting for us so that in the shot there was no one else apart from the victim.


 When we began filming (around 2pm), it was relatively bright; bright enough so we did not need to use additional artificial lighting. In many of the first scenes we used natural lighting, however at around 4pm it got very dark so when we filmed the last few shots where the killer catches the victim, we used artificial lighting to illuminate the actor's faces for the camera.

We were not expecting the sky to get as dark as it did within half an hour so our last shots are quite dark. My group and I decided to incorporate this into the story - that the length of the chase had been going on for quite long, so when the killer finally caught her, it was late. This will make surprise the audience that the killer is that determined to get the victim, and will also emphasize the killer's agility juxtaposing the victim and how she tired after a while.


Before it got dark, we filmed the scene where the victim got cut by a branch and we used the ladder for this. The ladder was placed on muddy ground and I was on it so Hayley had to hold the ladder while I filmed. The ladder was against a tree and the branches were blocking the camera so I had to break off a few, but I kept some in the way to make the scene seem more realistic. Being on the ladder was not a problem as it was actually quite stable without Hayley supporting it.
Also, Annie and Hayley poured some fake blood on the branch and the leaves underneath and I filmed the killer approaching this. Meanwhile, Annie was applying the victim's wound from the branch so we saved time and when that was done, we filmed her being cut by the branch.


After we finished filming that, it began to get very dark, as mentioned, so when we found a thick enough tree for the victim to hide behind, we needed artificial lighting. Annie filmed the last few shots and Hayley and I held the lights. While Hayley and Annie were setting up, I directed the actors on what they had to do. All this saved time as we knew it was getting dark quickly. The lights were small which meant they did not project masses of light onto the actors which was good because when we watched over the recordings, the surroundings were dark and only the victims faces were illuminated, making the scene more scary and fitting with horror and slasher conventions of darkness to reflect the killer's inner darkness.


Once we had finished filming we looked over the scenes to see if we needed to re-do any however we felt they had turned out well. The filming process took around 2 hours, and our chase scene will be about 1 minute long. The only complications during filming was the muddy ground, we wanted our victim to be barefoot, then we decided she would wear heels but when we saw the ground, we decided she would wear trainers to make her seem less dignified and careless about her image. Also, the dog strollers were a minor issue which, again, we could not help so we had to work with.

Practise Shots with Camera:


Originally our plan was to have our indoor scene in Raman's garage, but recently decided to change it to my grandma's garage which I had evaluated before in a previous post as it was better for the idea we had in mine. Over the Christmas holidays, I decided to go and do some practise shots using the actual camera we would be using for filming, as before I had just used the low-quality camera on my phone. I decided to use one of the pre-set effects on the camera as it looked more effective compared to the normal setting.


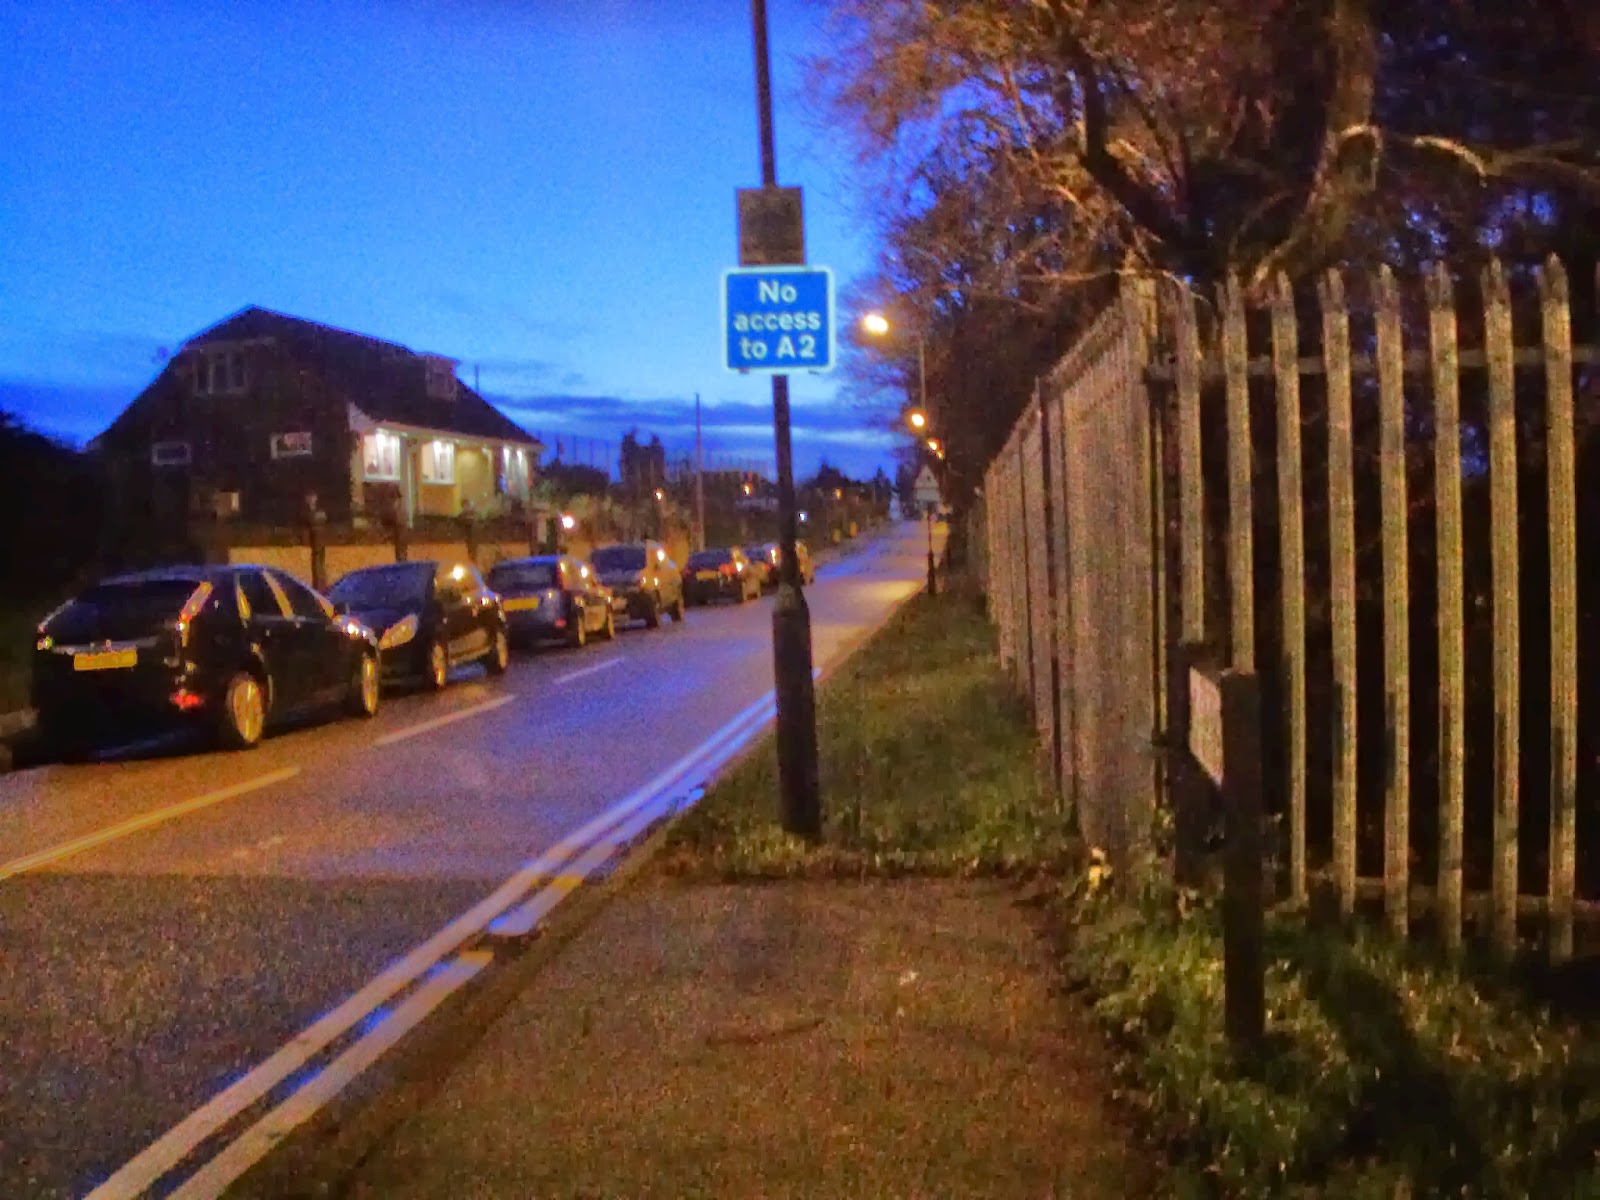
I also took some pictures using the camera around the area near my house as I had an idea of having our villain walking towards his house when it is quite dark but as I personally don't think they were successful, we probably won't use the idea in our actual piece.


Monday, 6 January 2014

Evaluation of Special FX makeup- Chase Scene Filming

To the left and right, you can see the final designs that I carried out for the special effects makeup on our victim and killer.

The killer, shown on the left, has the words "ADORE AND ENDURE ME" and "A+E" carved into his face at various places, looking pink and quite raw. The final product of this went quite well however the placement of the different "A+E" wounds looked a little odd. If I was able to do it again, I would add more of the "A+E" scars in more areas of the skin to make it look more like an obsession.

The victim has smudged makeup, a bleeding cut on her forehead and tear streaks down her cheeks. I was pleased with this finish, however I feel that it needed more intense makeup on the eyes to really over exaggerate her profession.


To the killer, I also added the planned "dry skin" effect to his hands, adding bruising and torn skin where he imposingly had punched the victim, but due to his soft fragile hands, they have been damaged quite badly. and to the victim, I added yellow bruised hand marks on her arms to show that he had been trying to restrain her. The finish of the hands, I feel, went exactly how I planned and was very realistic.

During filming, a feature in this scene was that the victim had cut herself on a sharp branch when running in the woods away from her killer. To create this, I made a quick wound on her arm, in the location that the branch would have caught her, adding a lot of gore to it so that the dripping blood that it left on the branch looked reasonable and not too over the top- trying to keep the idea that this is a slasher film, making it necessary for it to be gruesome to meet conventions. I do feel, however, that because I was forced to do this fake wound in such a rush in a difficult environment, it wasn't as realistic looking as it could have been.


Overall, I feel that this section of special effects makeup for shooting went really well, getting through the preparation stage fairly quickly, and with a good length of filming time to capture the shots that we had planned.

Wednesday, 1 January 2014

Fog effect

For our chase scene, I thought that it would be a great idea to add a smoky effect to our shots, making it add to the tension and create an atmosphere within the scene. It would also add to the idea that we want the initial scene to look as if the victim is lost, and constantly running from her attacker, as if in a drugged state.

To find out how to create this effect, I immediately thought of dry ice, but I felt it necessary to research into it before going ahead and buying dry ice, to see if there were alternative methods. In this search, I found a website that explained about a method of creating steam "fog" with only water and ice.
Below shows the video that I took as I tried this method out:


As said in the video, this technique to make fog wasn't very successful, and so, my initial idea of the dry ice came into light again. I now just needed to get some, and find out how to use it.

Researching, I discovered that all you had to do to make the fog effect with dry ice is to get dry ice pellets or blocks and put almost boiling water onto it, initiating the fog reaction. A good You Tube video that I found, creating this effect is shown in the video below:

The cheapest dry ice pellets/ blocks that I found were rather expensive however, priced at £27.60 for only 2.5 kg. This, with the amount of money that my group and I were willing to spend on props and equipment for this project, was too great, so I decided to look into more alternative methods of creating fog effects.

I found one other way to make fog- with "fog fluid" and a fog machine. But again, a fog machine would cost far too much money for what we were willing to spend. With this obstetrical in mind, I looked for a tutorial into how to make a fog machine. The best tutorial that I found is shown below:


This idea, however good, firstly doesn't produce enough fog to be able to give the atmospheric effect that I wanted, nor is it robust enough to be able to work with it on a windy, possibly rainy, evening within a wooded area, so this idea was written off also.

When I had finally decided that we were going to have to forget about the fog idea, because of all the problems that we would face with how to heat the fog fluid to produce the desired effect, I posted a "help" post on Facebook to see if anyone had a fog machine that we could borrow, or any cheep dry ice suppliers. Within five minuets, my grandad phoned me and explained he had a fog machine that we could borrow and a generator to give it power! This was amazing, and I went round to their house immediately to get the machine, to see how good it would be for our needs- filling a pathway in a wooded area with fog.

However, when I got to their house, I found that because the equipment was so expensive, and we were going to a wooded area when it was getting dark, I didn't feel comfortable with taking this type of stuff with us into our location. This, however disappointing, wasn't a complete waste of time as the effect would have been really good if we had been able to do it, it is just because of resources as we are not a professional company creating a movie with a large budget.

Overall, I am pleased that I investigated this, as it would have been an amazing feature within our film opening, but we are unable to get this effect. Being that our filming of the chase scene is tomorrow now, the mise en scene, makeup and story line should be good enough to for the result that we want to produce for this chase scene.