Showing posts with label Flashbacks. Show all posts

Friday, 7 March 2014

Editing the Death Scene and Flashbacks


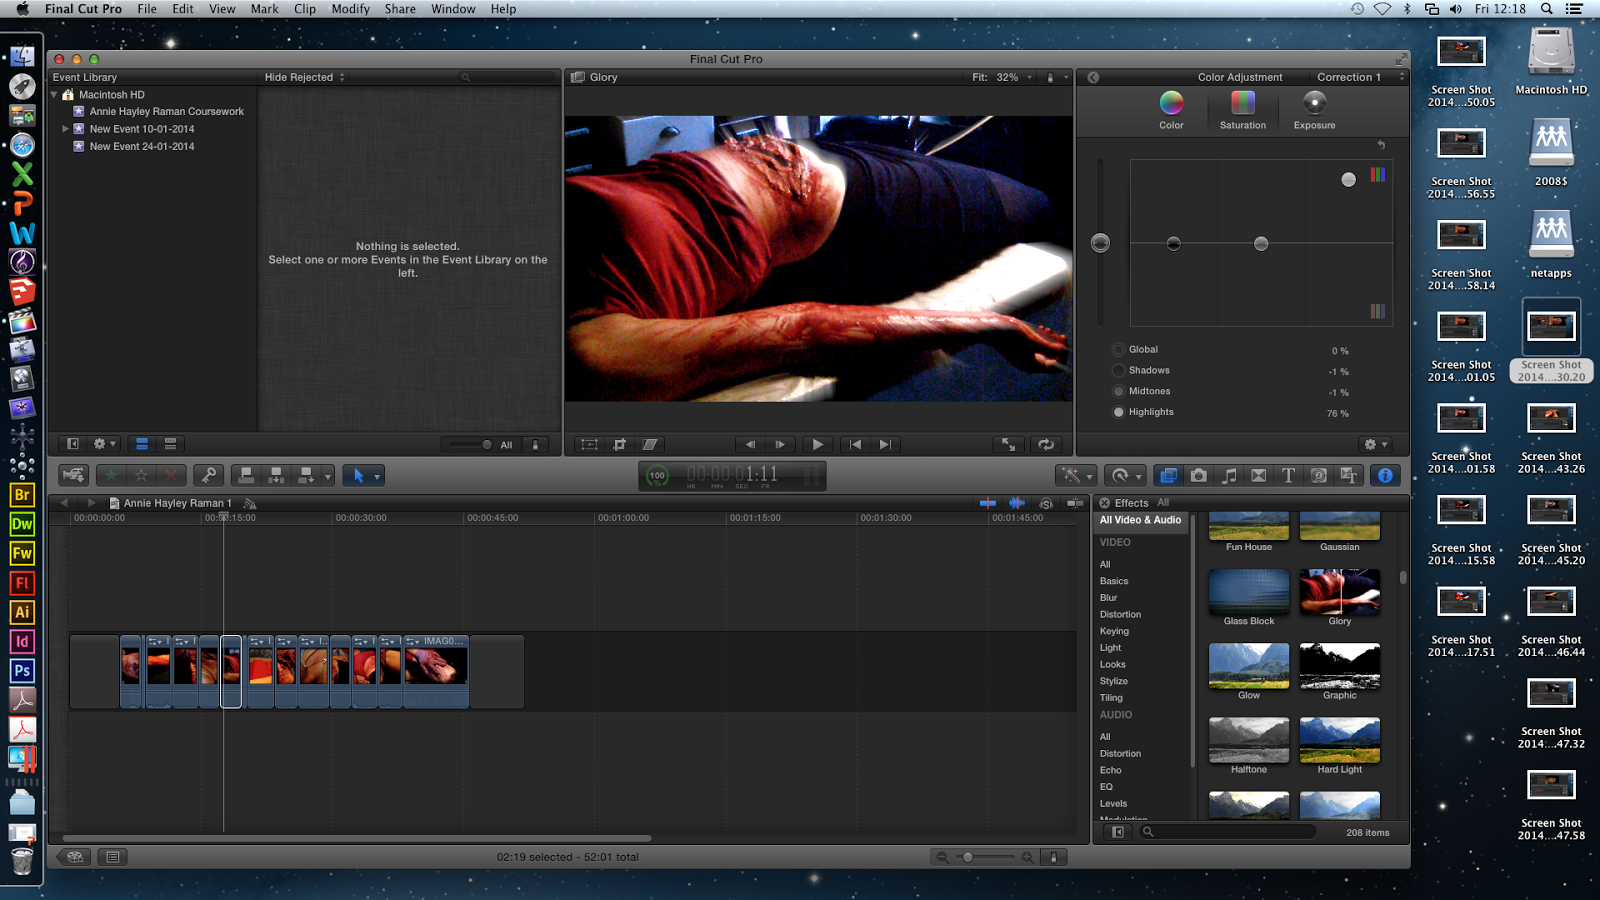
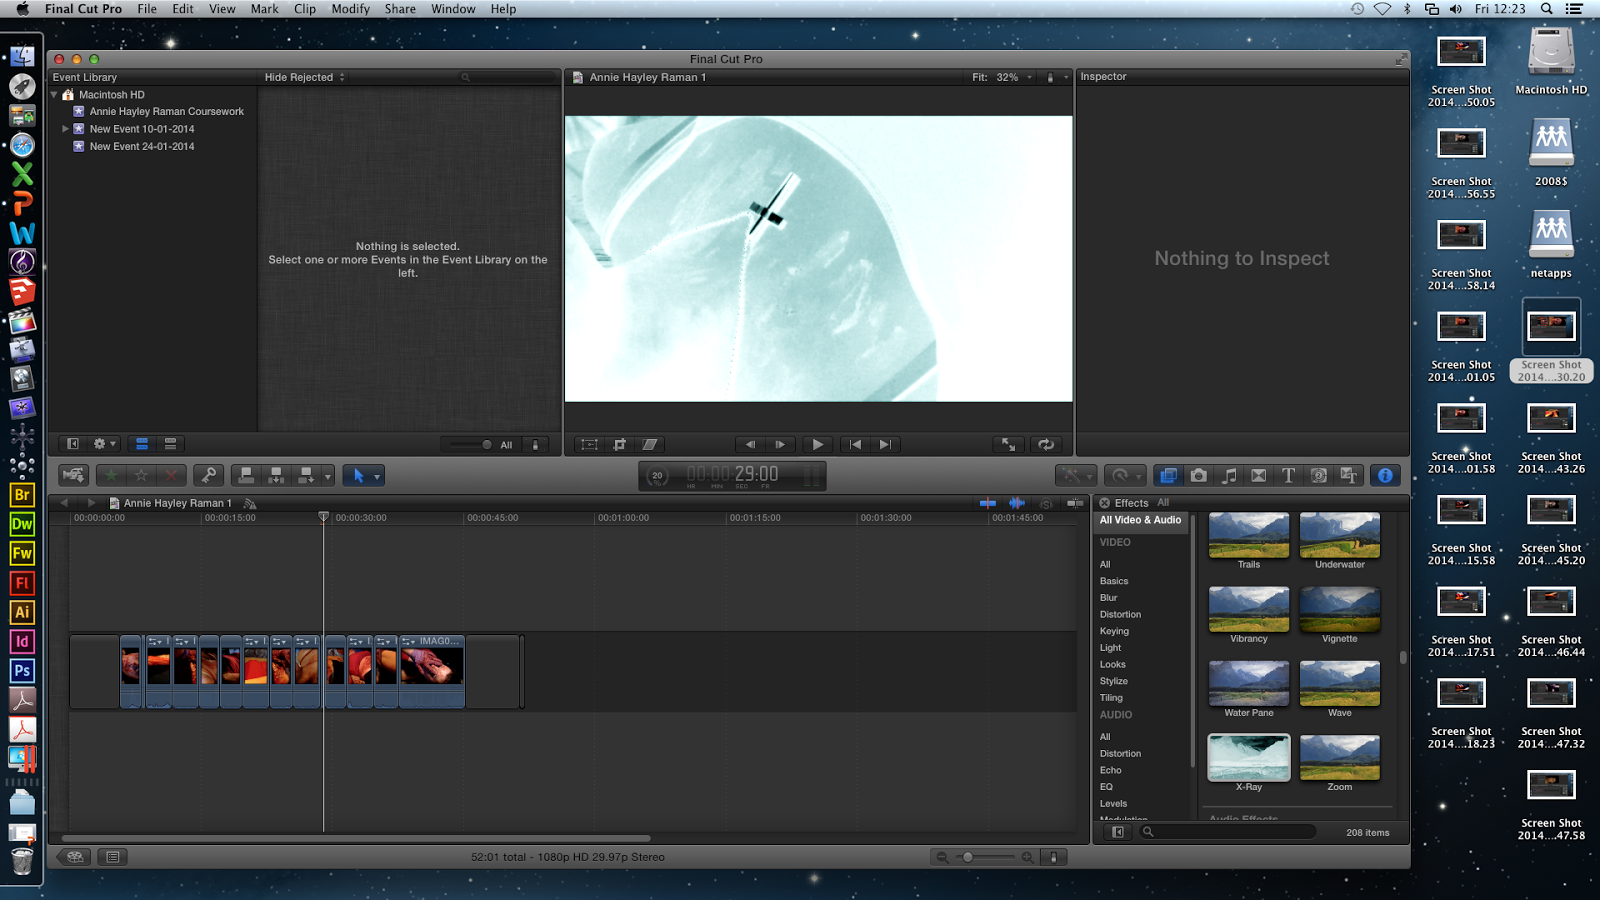
Now that we had all of the footage for the death scene, I could finally start editing the footage, incorporating the flashbacks that we have already edited into the scene. Below shows the first stages of editing the death scene and flashbacks:


Firstly, I muted the volume on every clip so that the non-diegetic music and diegetic sounds that will be layered over the top will not be interfered with by the audio recorded when filming each clip.


I then went through the footage, cutting each clip down using the trimming tool and the blade. For the longer clip of the killer writing in the diary, I used the blade tool, cutting it up and deleting unnecessary seconds- trying to reduce the clip down to around one minuet, of which the death scene will need to last to meet the two minuet limit on the entire film opening.


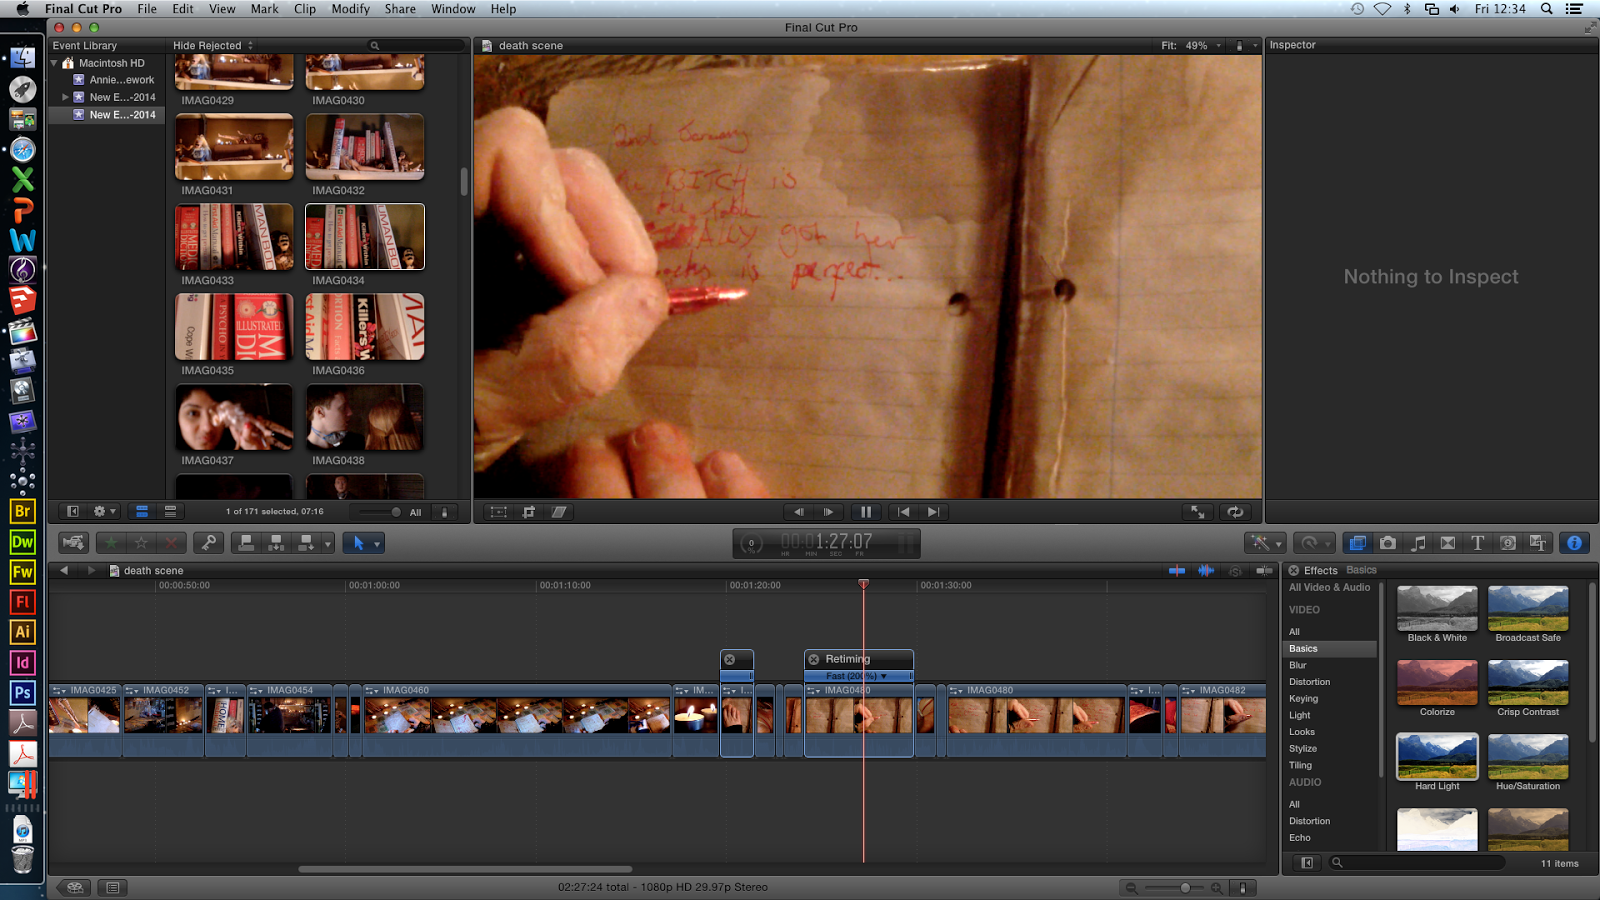
Going through all of the footage again, I decided to use the re-timing tool to speed up different sections, again reducing the time of the death scene and making the footage more visually stimulating to the viewer- not getting boring.


At this point, I decided to apply the flash backs, that I had already edited, into the footage of the death scene in the appropriate places.

Taking each one, I placed them between each shot within the death scene, starting with a slow pace editing changing in shot. Through the extract, I started increasing the pace in the editing, reducing the length of each of the shots, building up a collection of flash backs that get more and more frantic until the climax at the end of the sequence where a singular shot of the killers forehead is shown in a much longer shot. This process of editing, I have done, to increase the tension within the scene and make it more intense for the viewer through the use of editing, the visuals within the shots- gore- and then later on the sound will also play a part in this effect.


As the extract wasn't nearly one minuet yet, again, I went back through the sequence, cutting the clips again to rid any un-needed seconds, and changing speeds of specific shots, all to reduce the overall time and make sure that the footage would keep the viewers attention and not get tedious.


The overall editing process being a time consuming task, I did have to repeat myself by going through the clips, cutting them to smaller time frames, and then fixing the pace of the edits, making sure the increase in  intensity was kept present and didn't get lost in the process of cutting down each clip.

This being my fist session of editing the death scene, I am pleased with the way it has gone, having a clear idea of what my group and I want the footage that we have recorded to look like as a final product. I just need to keep this process up, sorting out the audio etc for it to be, finally, complete.

Thursday, 6 February 2014

Editing Flashbacks - Effects

I investigated different effects:

Memory: created a 'washed-out/faded' effect which is appropriate because this is a 'memory' the killer is recalling.

 I tested the Romantic effect and this did not do much, it simply blurred the edges of the shot.
 The Seasons effect changed the colour of the clip to dark blue which downplayed the gruesomeness of the wound, so I chose not to include this effect because this is a slasher where the conventions are to be as gory as possible.
 Sepia changed the colour to a beige tone, this also understated the blood and bruises on the victim's face. Therefore, I chose not to insert this effect on the clip.
 I tested the Side Lights effect and this did not make much difference. It made the clip a little brighter but bright lights are not a typical slasher convention so I did not include that.

Old World: made the clip darker however I did not like that because it did not emphasize the blood and bruises on her face.
So I played around with the colouring and intensified the colour, increased the saturation and decreased the exposure to highlight the blood all over the victim.
Next, I tested some effects on the clip and tried threshold. This effect added on the colour change intensified both the blood and the bruises which is good as our film is a slasher.
This effect I tested was called Bleach Bypass, I did not like this effect because it did not make a significant difference to the clip.
This effect is called Glory & I liked this because it is glorifying the victim's mutilated dead body, making her look angelic and innocent when she is actually the opposite.


Next, I tried Flashing as well as increasing the clip's exposure and this worked very well. The Flashing effect zoomed into the stomach and Annie preferred this to other effects.

On this clip I changed the colouring and increased the colour and exposure and fully increased the saturation to add a harsh red glow to the victim's face. Also, I added the Prism effect which made the clip fuzzy.

With this clip, I split off the last second and added the X-Ray effect so it flashes from the normal colouring to the X-Ray for a second then moves on to the next clip. I chose to have this because I was inspired by Se7en's opening credits.

Annie & I slowed down this clip because we could see the victim breathing slightly, and I added the Sci-Fi as it exaggerated her bruises, blood and wound. This effect is also on a second long split clip so it flashes up, catching the audience off-guard.

Wednesday, 5 February 2014

Editing of Flashbacks

The first thing that I needed to do with the good flashback footage was to put all of it into the timeline on Final Cut Pro. This included the clips that didn't go out of focus or have camera shake. This is represented in the screen grab below:


I then cut the footage on the timeline so that there wasn't any sections where the focus did go out for a second, or if they were a bit long. This reduced the time from the original 1 minuet 4 seconds to 49 seconds- of which I wanted to reduce down to around 30 seconds- so that it fits with the plan that we have for our timings for the film opening footage.


All of the clips that were of a singular view, and didn't have any action in them, I cut down, and slowed down so that the clip was almost a single image played for a space of time- reducing inconsistencies such as the stomach going up and down from breathing , unwanted movement of the camera or the footage going out of focus. By slowing it down and cutting it, this breathing motion was not noticeable, and the camera appeared more steady in the footage being edited in the screen grab below, for example:


Regarding the footage that had action within it- for example when the killers hands are digging into the victims stomach- I cut the clips up into smaller ones, reducing the length of the clip, and also scattering the split footage in between other shots, allowing the building of tension through the flash backs, starting off with a simple clip of the victims face, and having really gory quick flash backs throughout, adding to the tension and build up in the scene.

When placing the split "gory" clips, I made sure that there was one every other clip, until the last section where a small group of them were placed- in the attempt to reach the climax of the building of tension from the gore and blood.


Once all the clips were put in order and cut down, I made them all to be the length of just over a second, so that they wouldn't be too long. This I applied to all of clips except for one.

The last piece of footage that I needed to look at was the piece where the killer closes the eyes of the victim, showing the same angle as the first piece flashback that I had edited- as if the flash backs start and end with the same shot. With this clip, I cut off the initial bit- reducing the unnecessary length of the clip- and then let it play for a bit longer than the rest, representing its importance over the rest of the flash backs.


The order of the clips is supposed to build the tension off the scene, the gore and "slasher" genre being represented in the film opening through these clips. I am happy with the footage, and the edits so far, the links between each clip making them really seems like flashbacks, memories, of the murder the killer has just committed. The next step in the editing process of these flash-backs is adding effects- of which Raman is to do.

The video below shows what the flashbacks looked like after Raman had edited this same footage, adding the effects that we wanted. We haven't added sound at this point, sound being the final step in editing.

Wednesday, 29 January 2014

Evaluation of Special FX- Flashbacks

The special effects makeup pieces that I made for the flashbacks that we shot included:
  • The open stomach
  • Bloody wounds and bruises
During the preparation before shooting, when I was applying the open stomach to our victim, Raman recorded the creation process, of which I then edited and turned into a tutorial/overview of how I made this effect. This is shown in the video below: 


As you can see, most of the special effects pieces, only look really good, once the blood has been added to the made wound, however, I feel that this piece went really well.

Below, there are photos, in different angles and lighting, of the special effects makeup pieces that were applied to our victim.


The photos on this row show the blood smeared all over the victims face, a few bruises and cuts on the skin in different places that she was hit.

I am reasonably pleased with this effect, however, I would have preferred the look of sprayed blood on her face, rather than smeared, to make it look more authentic. However, as a viewer, and as the flash back scenes only show for a few seconds, I wouldn't think this would be a large problem.


On this row, the photos show the blood covering the gloves of the killer as he is cutting into the victim, pulling different body materials out from her stomach.


I really like this effect, looking really gory and gruesome, with different bits of the prosthetic coming away from our victims stomach, adding to the effect. This specific effect went much better than expected.


To the left shows the stomach wound in the lighting that we filmed it in, with all the fake blood covering her arm and clothing also applied, adding to the gory aspect to these quick flash back shots.

I was overall, really pleased with this stomach wound application, providing the appropriate effect for what we wanted to portray in these flashback scenes.

 To the right, the flashback, looking at the blood dripping off of the victims hand can be seen, really portraying death, pain and murder, the blood looking fresh and realistic.

I am, again, really happy with the outcome of this, the blood looking the appropriate red colour, rather than becoming a pink, unrealistic colouring, producing this nice, gruesome effect.

Overall, I was very pleased with the special effects makeup in this flashback scene, the effects proving to look even better on camera, than the did in real life. I am pleased that I tried out and experimented with techniques before shooting, however, to be able to create these high quality pieces that are perfect to be able to put in our film opening.

Thursday, 23 January 2014

Evaluation of Filming Flashbacks - 18/01/2014


On Saturday 18th January, we had planned to go to my grandparents house and use their garage as the location of our villain's hideout. We met at Bexleyheath as arranged around 1, where Annie and Raman had bought some extra things that we needed such as plastic to cover the table, candles and a red top. We already knew we were on quite a tight schedule due to the times that we were all available so we aimed to be done by 4.

We had chosen to change the actor we wanted to play our villain as we felt she looked too young and it didn't fit in with our storyline. As we also chose to completely disregard everything we had filmed over the Christmas holidays, it meant we had more choice with what happened in this scene.

Emily, our victim

For example, we realised it would be more appropriate for our victim to wear a top and a skirt rather than a dress as it would make is easier for the villain to get to her stomach. We kept in mind about how the colour red represents love and passion and decided to have her wear a red vest. Emily's dark hair is naturally wavy and she had already tied half of it into a ponytail so we decided to leave it like that and just mess it up a bit more.

Me doing Emily's hair

I then did her make up, aiming to make her eyes as dark as possible. I first applied eye-liner, eyeshadow and mascara before smudging it to make it look messy. I added blusher to her cheeks and used a combination of red lipstick and pink lip gloss for her lips.

Me doing Emily's make up

Annie then created the stomach wound which our villain would be making to get to the baby. She has evaluated this is her own post. (link)

Annie preparing to create the stomach wound

and again

Blood smears on Emily's arm

Side view of the stomach

Annie also used her special effects make up and fake blood to create a bruise and blood splatters on Emily's face. I felt this look was effective and suited the character well.

Creating a bruise

Adding the fake blood

Not much of the villain is shown so we didn't need our actor to be present so Annie put on the purple surgical gloves for some of the angles we used where the villains hands were in shot.

Annie wearing the villain's gloves

For the lighting in the garage, we decided to use my grandmother's lamp as it cast an orange light which was better than the bright white light from the torches, although we used them occasionally to create an even brighter light.

Raman holding the lamp

Raman holding the torches


We also used black bin-liners to eliminate the natural light coming from the window as it created a more gloomier atmosphere.

Raman and Hayley sorting out lighting

Blacked out windows

We also lit numerous candles and put them on the shelves in the corner, the next time we film with added mise en scene we are hoping to put more of them around the garage as they looked interesting and added another light source as it made it more creepier.

Raman lighting candles
Candles 

I felt the mise en scene that we added to the garage was appropriate as the shots we were taking on that particular day would not show that much of the room. We just added a plastic covering to the table and floor as we felt our villain would want to be clean with his murders and would use it to protect the blood splattering everywhere.


Plastic covering the floor and table

The main problem was the timing, as we only really had a few hours to get everything set up and filmed and we knew it would be tough but I thought we did quite well considering the amount of make up we had to put on our actor and the mise en scene in the room that was needed.
Another major problem was that the camera ran out of battery half way through filming, but luckily we overcame this by realising we were able to film while the camera was plugged in charging, although it made it slightly more difficult. Often the camera would take a while to focus, due to the lighting and this ended up wasting more time than we would have wanted.

However, I do feel this filming session was a lot more successful than the first and hopefully the footage we have will be okay to use for the real film opening.